Self sufficient bike repair skills can take you a long way. No bike shop required!
Continued from the previous post: Mountain Bike Repair Hacks with a Safety Pin in DuPont State Park, North Carolina – Saturday
All Sunday Morning We Spent Just Fixing Our Bikes
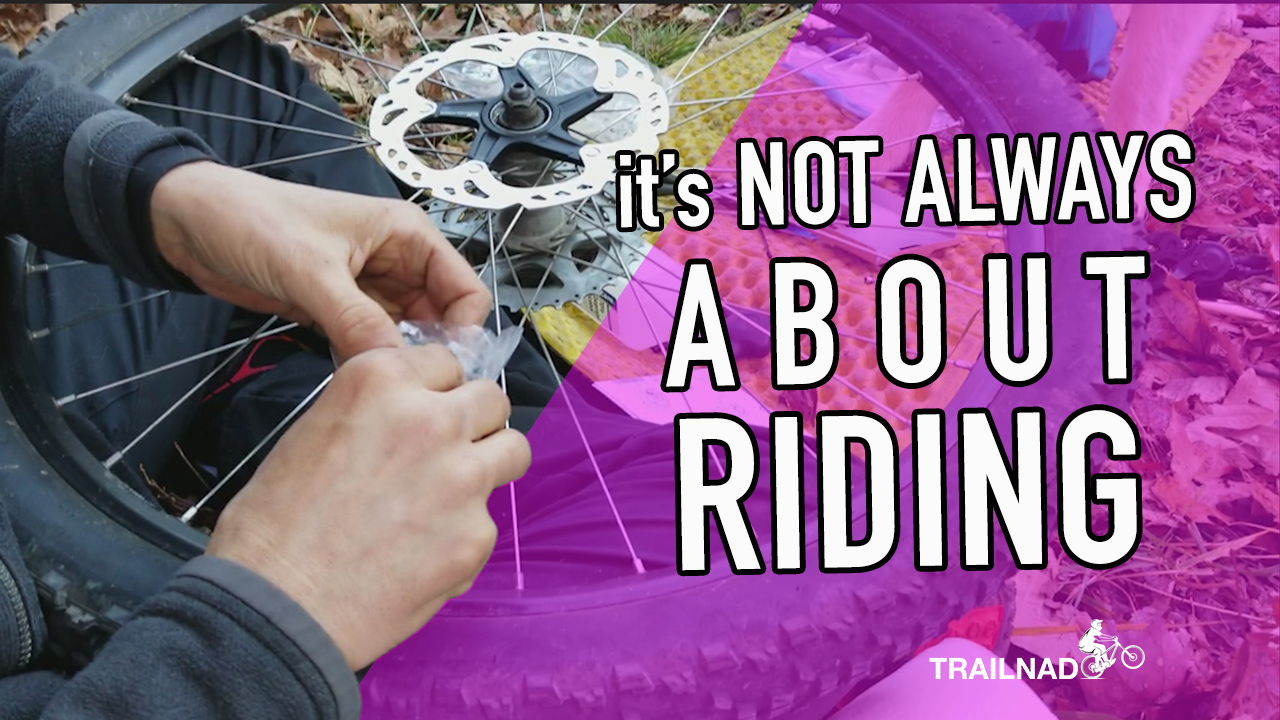
I knew my bike was in need of some serious maintenance weeks before we made this video. If you have been following our vlogs, you might have noticed that my rear brake had been making A LOT of noise. Trent had tried to fix it many times but the rotors and pads were too contaminated and had to be replaced.
The ride on the previous day in DuPont State Park was the kicker. The retainer clip that prevents the brake pad bolt from falling out (in the event it comes loose) was gone and the bolt decided to loosen itself on the trail and fall out. Therefore, my front brake pads just fell out on the trail. Trent was able to temporary fix it by using a safety pin!
Sunday morning it was time to break out the toolbox. I paid for the parts ($150 total: 2 disc rotors, and 2 sets of brake pads) and Trent had to fix my bike.
What you need to know when you replace your rotors and brake pads
- Use rubbing alcohol to clean the calipers to remove any oil and unwanted contaminants. Use rubber gloves if you have them. Clean clean and clean.
- Be extra careful with the rotor and pads. Any oil that comes in contact with the rotors or pads will cause them to squeak again. If possible, wear gloves. Your hands also have natural oil, so don’t touch them directly with your hands.
- Clean and re-grease your quick release (QR) skewer. Sometimes on older bikes with the 9mm QR, if you don’t put a very light coating of grease (especially on the rear) they will creak. We use Phil Wood Tenacious Oil for that.
- After you have replaced your brake pads or rotor, you will need to ‘bed in your brakes’. To do that, you need to ride straight on a flat road with a good speed, then perform some light stops. 5 – 6 times should be sufficient. This will help your brake pads bed properly with the rotor to prevent premature wear or damage.
- Don’t forget to test your bike before hitting a hard trail. You may need to do some adjustment on your brake lever to make it feel right again.
After Trent had finished fixing my bike, it was still not over. He had to fix his dropper seat post (would not extend to full position). It needed to be filled in with more air. Even we had a lot of bike tools with us on the go we had no socket set which you need to remove the air cap on the seat post.
All bike shops in the area were closed. And Trent will never miss a chance to ride a bike when there are awesome trails around, and when we still have daylight! That is not an option! So we went to Kmart in Asheville, NC to buy a socket set. He fixed his bike right there at Kmart’s parking lot.
Then it was finally the time for us to ride on that day!
Check out our ride on that day here.
Do you have other tricks/tips for replacing the rotor and brake pads that you want to share? Let’s know in the comment below!

